Taking cuttings and germinating seeds can be a stressful time for plants and growers alike. Find out how to alleviate most of the anxiety and make sure your plants are ready to take off when they hit the main grow room.
In the beginning
Starting a grow can be a daunting prospect. You may have been focusing all your energy on getting everything ready for the main flower room, making sure the expensive equipment is installed correctly, and the whole thing is hermetically sealed. As the last piece of the horticultural puzzle falls into place, it dawns on you that you have neglected the very first bit of a plant’s life and have no choice but to obtain some cuttings swiftly.
Being late in the afternoon, you whip your phone out and dial a friend’s number to try and get something sorted before the day is out. After a long period of ringing, the phone is answered.
*Muffled noises and groans.
“Hello?” you ask.
*Muffles turn to a hacking cough, as if someone were attempting to cough out their lungs.
“Errrr…. hello?” you apprehensively try for a second time.
*Clunking noises and unnecessary expletives, a raspy and out of breath voice finally materializes from the speaker.
“Y’alright, man. Sorry, bro; I’ve just woke up.”
“Early bird gets the worm, eh? Well, I was hoping you still had some cuts available.”
“Say no more fam; I got you, cuz.”
“Because of what?”
“Never mind newms; I’ll drop me round later. Safe.”
Upon hanging-up, you immediately regret having made the call in the first place. When the cuttings arrive, they confirm all your paranoid suspicions. Lack-lustre, gangly-looking plants half bereft of life, also sporting some suspect white specks on the leaves. Also, he decided to travel with an entourage of rudely inquisitive friends.
There is another way
Rather than having to spend months reviving half-dead plants, the best solution is to start from your mother stock or seedlings. After a quick trip to the local hydro store, you whizz back home with all the high-tech necessaries and child-like enthusiasm to start your nursery. However, don’t be too hasty; with all this equipment and total control at your fingertips, it can sometimes be tempting to give your plants too much of the ‘kid glove’ treatment.
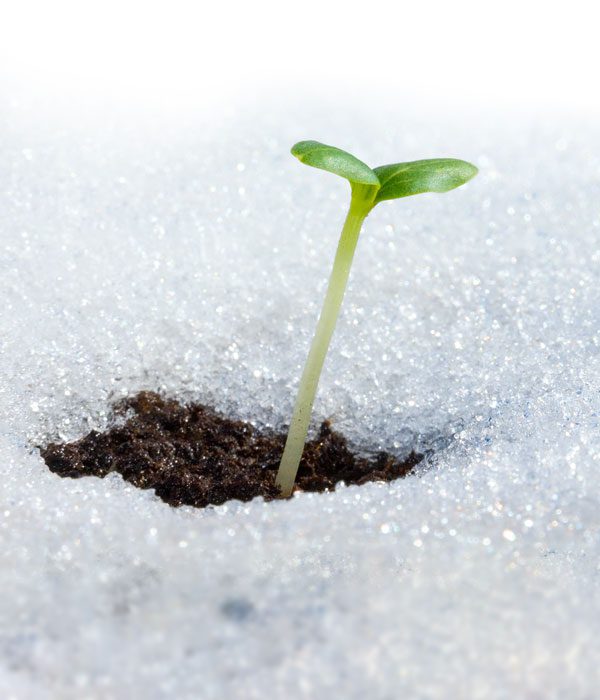
Plants are tough SOB’s
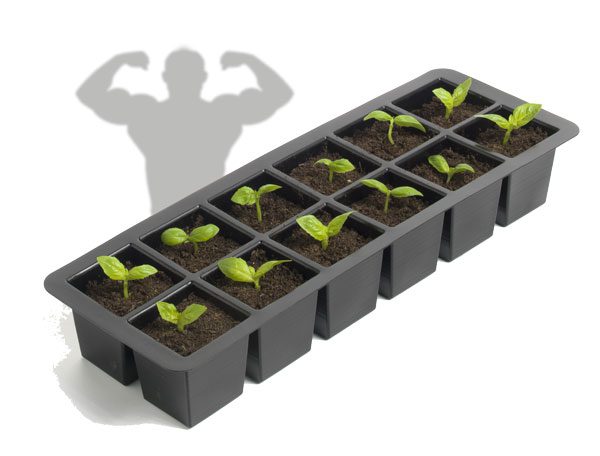
In general, plants are frickin’ tough. As an example, you can take a cutting of your favorite fast-flowering annual, put it in a glass of water on a window-sill, and it will happily root after 10 to 14 days, ready to be planted and grow quite rapidly. No need for the propagators, rooting hormones, nursery plugs, or environmental control gear you just spent a small fortune on; they only require a small top-up of water every few days. Although, with proper use, these other tools can reap huge benefits.
The keywords in that last sentence were ‘proper use’. Propagators and the like are great when it comes to increasing the timeframe and success of rooting clones, but while giving your young plants optimal conditions to produce new roots, it may not be so ideal when it comes to producing its new shoots. Humid propagator conditions result in ‘weak’ foliage. Therefore, hardening plants off correctly is a crucial part of propagating a cutting, and when done correctly, it will set them off on a path to a highly successful harvest.
All leaves are not created equal
Precisely what is meant by ‘weak’ foliage, though? Well, it all boils down to the number of stomata each leaf possesses. The more stomata a leaf has, the higher its capacity for transpiration, therefore, the higher its capacity to cool itself. In a nutshell, the more stomata a leaf produces, the better. The problem from a propagation point of view is that as each new leaf set is born or produced, it is spawned with a fixed number of stomata and does not provide more as the leaf grows. The amount the leaf produces is relevant to the environment. If those conditions are cool and humid, it doesn’t need many stomata – and won’t produce very many on that leaf.
So, this creates a problem when you move the plant into a room with more light and more air movement. The leaves born in luxury the propagator provided are no longer going to cut the mustard under the new intense light, lower humidity, and higher temperatures. It will probably take your plants several weeks to settle in, negating all the time you saved yourself with the rapid rooting at the beginning.
Treat them mean, but keep them keen
From the moment you start seeing your very first root poke out through the jiffy plug, you need to start toughening the little blighters up. Do not leave it until they have a thick mass of roots and are already showing significant signs of foliage growth – by then it can be a little too late. Over the next week or two, the goal is to remove the need for the propagator lid.
Once your first roots start popping through, the first thing to do is to begin increasing the airflow. Fortunately, this is pretty simple in most cases. Just open the vents on your prop lid at increasing amounts over a few days. Once fully open for a day or two, leave the entire cover askew slightly from the base so air can gently start to flow from the bottom to the top of the propagator. After another few days, take the lid off completely.
Next up, light and temperature
So, at this point, the leaves have conditioned themselves to lower humidity by producing more stomata. Your attention should now be on getting them used to higher temperatures and light levels, ultimately aiming to match the environment of your main grow room. Over the course of the next week or so, your goal is to increase light intensity and air temperatures to get those younglings really pumping. Fortunately, light and heat usually go hand in hand, so it is relatively easy to get both birds stoned at once.
Most of the time, depending on your choice of lights, it will merely involve lowering your fixture a couple of inches every other day or so until you reach the natural physical limitations of that fixture. Ideally, end with a good few days (more, depending on circumstance) of switching from your prop lights to a typical HID light or roughly 60-80% intensity of the main grow room. As an example, moving from an array of T5’s to a 400W metal halide fixture before going under, say, a 600W HPS light fixture for full flowering.
Ready to Rock
At this point, your plants will be able to deal with the environmental intensities of a main grow room like a pro and will not result in a lack of growth and yellowing/dying leaves for a tragic few weeks at the start. An excellent beginning builds the foundations for a substantial yield down the line, and who doesn’t want that? Also, you don’t have to deal with some third-party chump that could compromise everything you have worked for by unwittingly gifting unwanted pests, diseases, genetics, or hassle in the process.
A good propagation routine and nursery environment are one of a grower’s most valuable tools while also being one of the most under-rated ones. It may not directly produce the instantly gratifying fruits in the way a flowering room would do, but it does provide longterm quality. Make sure you aren’t selling yourself or your plants short.