There’s nothing worse than getting a great yield but not having enough time or mouths to eat it before it’s turned. Growing up I remember jars and jars of delicious pickles that my mom made every year. I want that in my pantry – I mean, who doesn’t! And after getting a text from a friend asking if I wanted to pickle, I thought – GENIUS, I’M IN! So we pickled as much as we could, and it’s a lot easier than I thought.
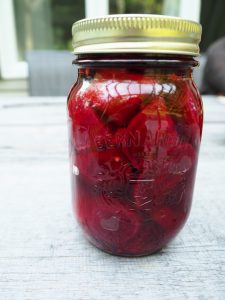
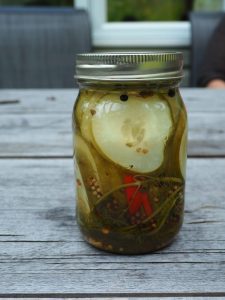
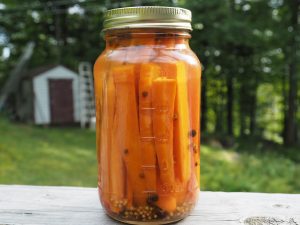
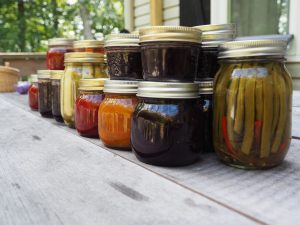
We started with the green beans and decided to give them a little kick because we all know these are going into our bloody Caesars as soon as they’re ready! We also did beets, carrots, cucumbers (pickles) and strawberry jam. But I’m only going to talk about the green beans since it’s quite a similar process for all types on canning.
1. Sterilize
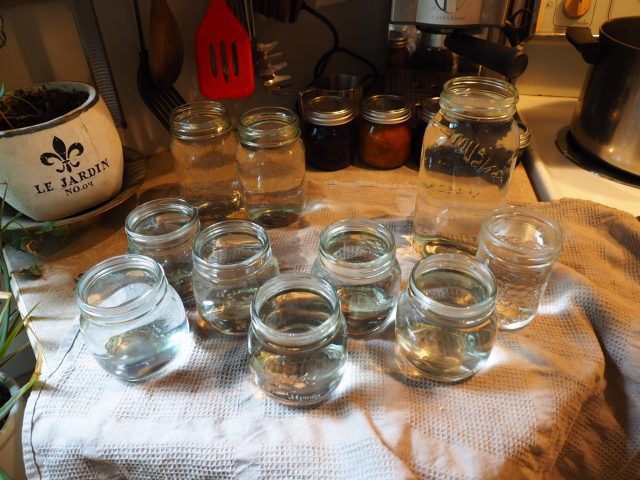
First things first: It’s important to sterilize your mason jars before beginning to can. Don’t forget, these jars could be sitting in your pantry for a few months and the last thing you want is your lovely pickled green beans to start growing funky bacteria inside. That being said, boil some water and ladle it into your jars right to the rim. After sitting for a few minutes, or until the water has slightly cooled, you can empty it and set them aside on a dry rack. Some people say to actually boil the jars in the pot, you can try that too. We didn’t have a large enough pot, so we did it this way. Another thing to note is that you need to wipe down the rim before pouring your brine in and again before putting your lid on.
2. Prep
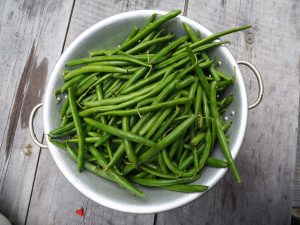
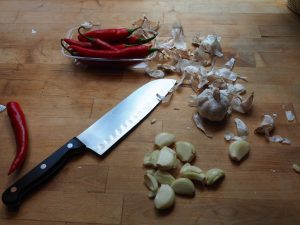
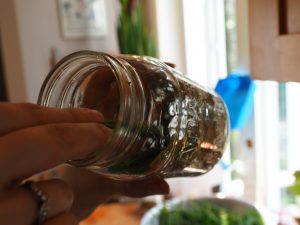
After washing the green beans, we trimmed both ends to the length of the jar (about an inch below the rim) and set them aside. Washed and cut the roots off the dill. Julienned the hot peppers and peeled the garlic after crushing them slightly to release the aroma and flavor. Once everything was ready, we began to fill the jars, starting with the garlic, dill, hot peppers and pickling spices to fill out the bottom. Then, with the jar on an angle, we placed each green bean to try and maximize the space.
3. Make the Brine
Brines can vary for different veggies so if you’re pickling say cucumbers, for example, you might want to research a different recipe. Apparently, the concoction of ingredients is very scientific and a slight difference could ruin your batch. This brine recipe is from Drick’s Rambling Cafe. All you need to do is add the ingredients to a pot, bring to a boil and you’re done. It’s ready to be poured into each mason jar you’ve prepared.
4 pounds of trimmed green beans (buy 7-8 lbs for perfect 4-inch pieces)
5 cups white vinegar, 5% acidity
5 cups distilled water
2/3 cup white sugar
1/2 cup canning salt
4. Pour the Brine into your jars
This step is pretty self-explanatory but one thing to keep in mind is to leave about an inch below the rim. So, wipe the rim and pour it in! The brine will loosen up your veggies so you might be able to squeeze a few more in.
5. Seal it up
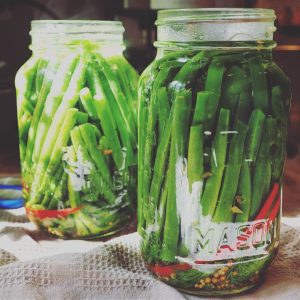
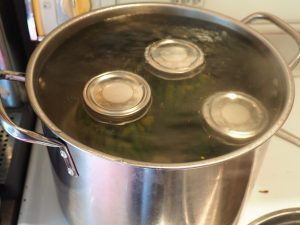
After boiling a large pot of water, take your jars and carefully place them in so the water level is slightly higher than the tops. Depending on the size of your jar, the time can vary from 10-20 minutes or until you hear a “pop”. This tells you the lid is fully sealed.
Et voila! That’s it… pretty simple.
DISCLAIMER
This is my first time EVER pickling – and to be quite honest, my friend, Laura, was the captain of this project. I’m simply sharing my experience and I can’t guarantee that this is the best way and that you’ll get the best results! I had fun doing it and hope you do too!!
I’d love to hear everyone’s canning/pickling experience, tips, photos, and suggestions. Do tell!
