A flexitarian is someone who limits their consumption of meat, but who is not exclusively vegetarian. The flexitarian diet can be practised in a variety of ways: some people do not eat meat every meal or regularly choose to make an entire day meatless, while others are vegetarians most of the time, but occasionally eat meat.

About a third of North Americans avoid eating meat at least a day a week. Elsewhere in the world, a 2015 survey found that 56% of French people claimed to eat less meat than they did before, whereas only 3% said they had increased their meat consumption.
Just like vegetarians, most flexitarians want animals to be treated better and have many environmental concerns, especially when it comes to climate change. Others impose dietary constraints for a variety of economic, health, or social reasons.
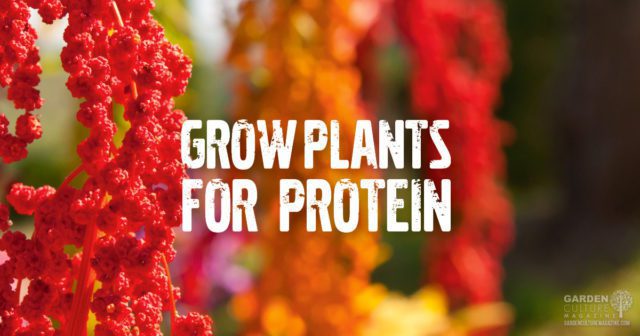
One of the challenges of flexitarianism is to maintain sufficient daily intake of protein. Here are some tasty plants for more protein that you can grow at home:
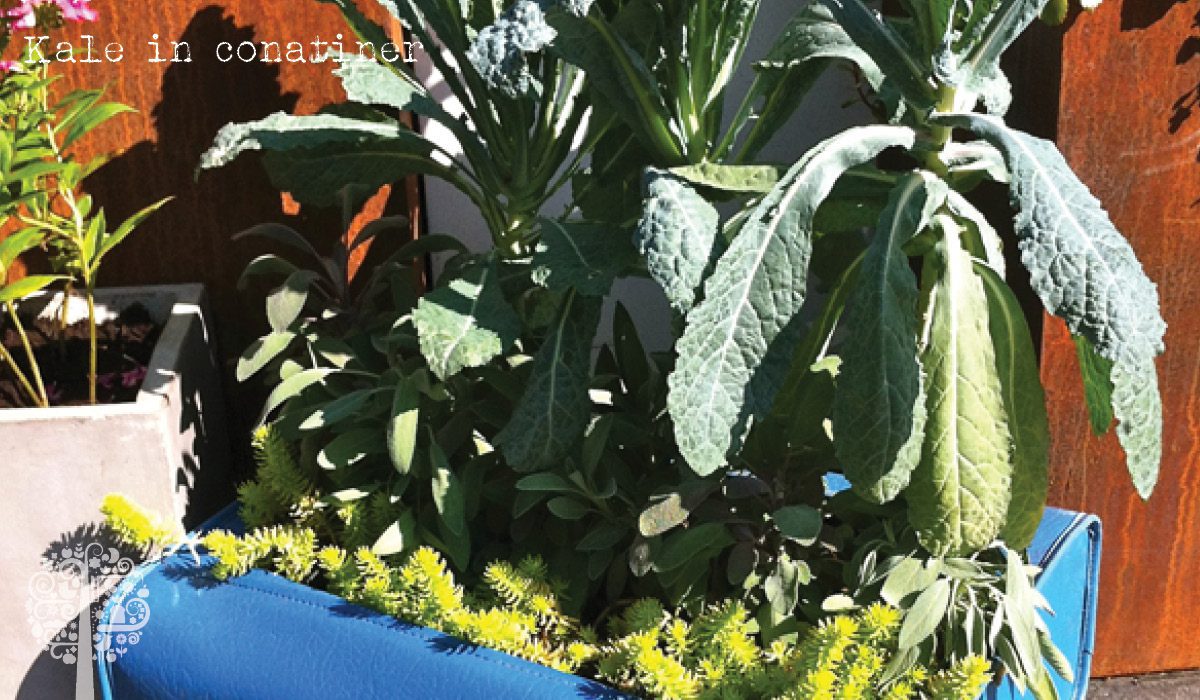
These plant proteins can be easily grown outdoors in containers, either on a terrace or balcony. Keep in mind that larger vegetable crops, such as corn and sunflower, grow better and produce higher yields if grown directly in the ground with a fair amount of compost.
During the winter in northern parts of North America and Europe, it is imperative to grow these edible plants indoors, ideally under artificial lighting. Seeds can simply be placed in pots or a plastic tray filled with moist potting soil. The seeds are then covered with some substrate and a translucent dome can be placed on the pots or tray to maintain maximum moisture.
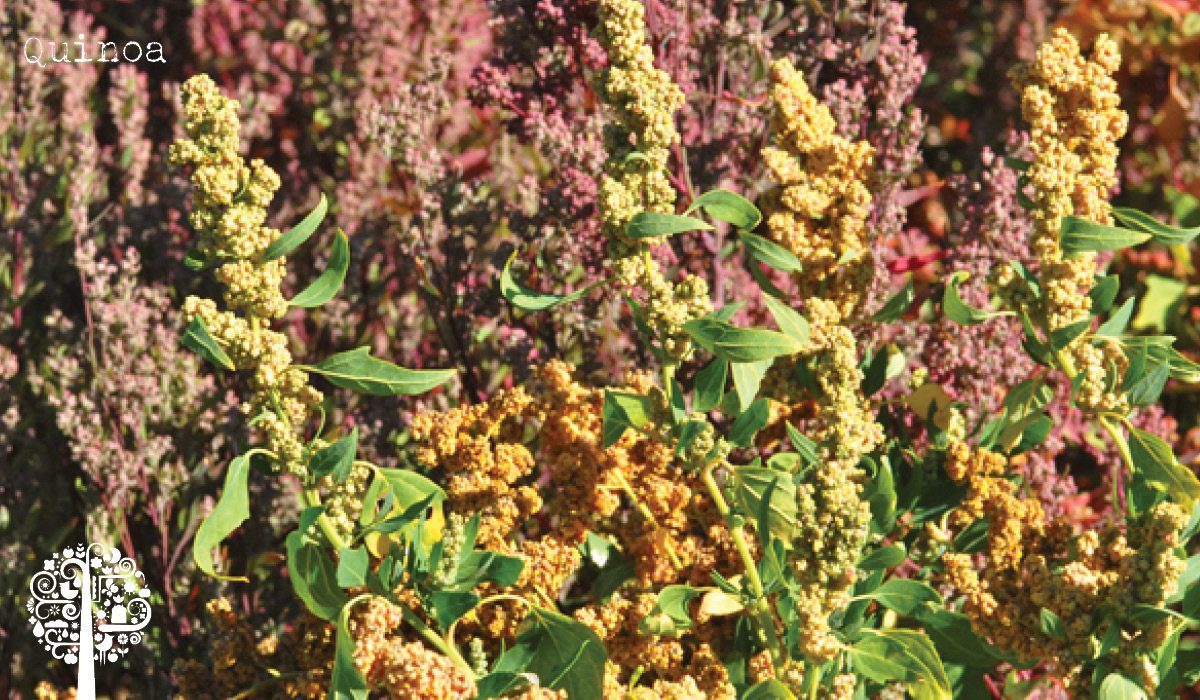
Although it is usually the seeds that have the highest protein content, young shoots of broccoli, spinach, kale, parsley, and peas can also provide large amounts. For even more options of plants for protein, you can also eat the leaves of beans, quinoa, and soy. These plants will be ready to be eaten about two to three weeks after sowing, when their leaves are well-developed. Sunflowers and corn can also be grown using this technique, but only their foliage will be ready to eat.
Sprouts and microgreens are more popular than ever, particularly among millennials. They can be used in salads, sandwiches, spring rolls, sushi, and even smoothies!
Here is how to grow your own sprouts and microgreens.
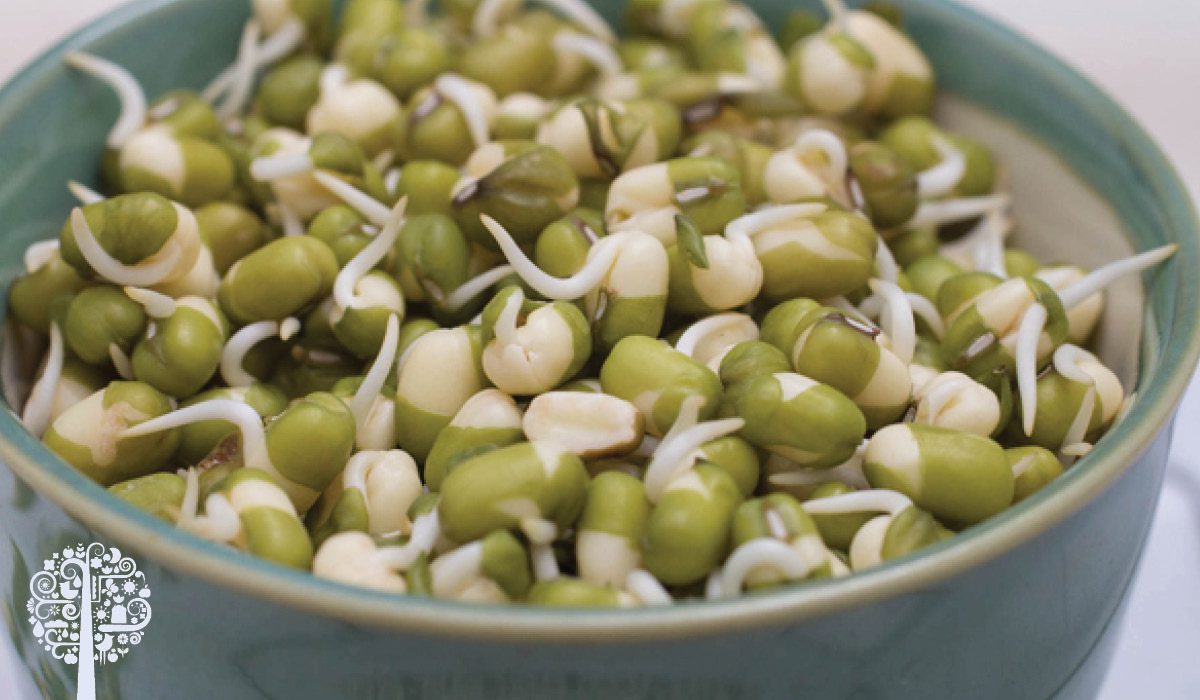
Growing sprouts is simply a matter of sprouting seeds and consuming them when rootlets begin to grow, usually within 2 to 7 days. In addition to promoting the elimination of certain substances that impede digestion, sprouting increases the number of nutrients available.
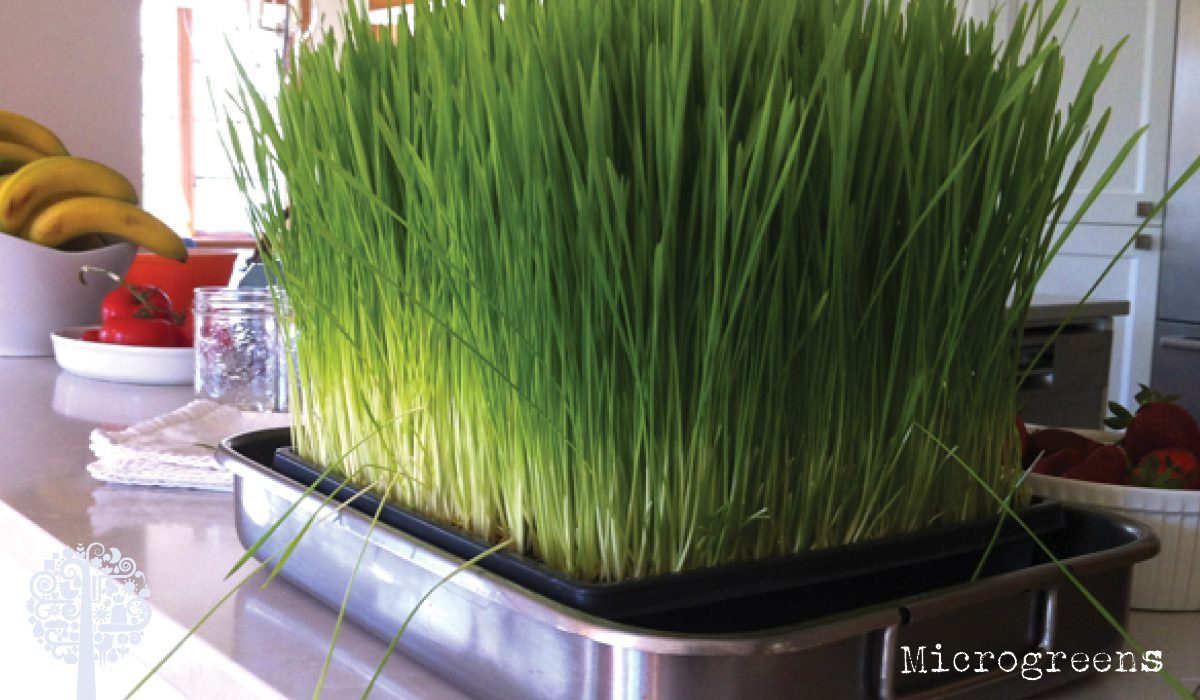
Microgreens are usually crunchier and tastier than sprouts. They are typically harvested a little later than sprouts, about 7 to 21 days after sowing. Microgreens are harvested when the first two leaves – which are actually cotyledons used to feed the plant before the growth of true leaves – are well-developed. You can also wait for true leaves to come out before harvesting.
Get growing some plants for protein today!
Foodscaping is a trend taking off in yards around the world. From style and structure to plant choice, follow these tips for a perfectly-planned edible garden.

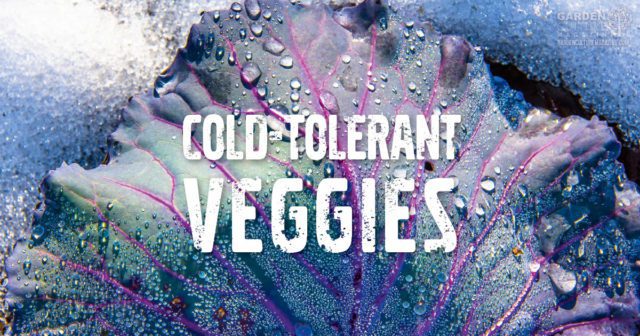
Itching to get back into the garden but still a little too chilly out there? Forget about it! Get your growing season started with these cold-tolerant veggies.
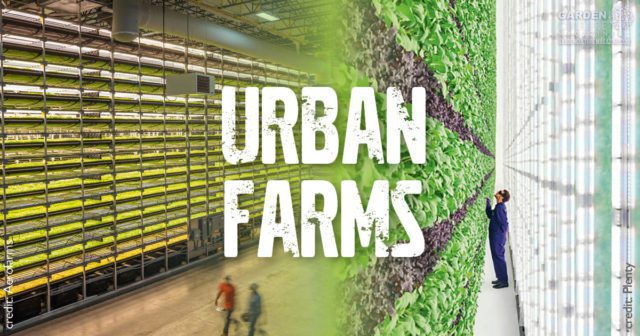
Skyscrapers are empty; COVID-19 has the occupancy rate in city office towers at an all-time low. Albert Mondor explores transforming them into urban farms.