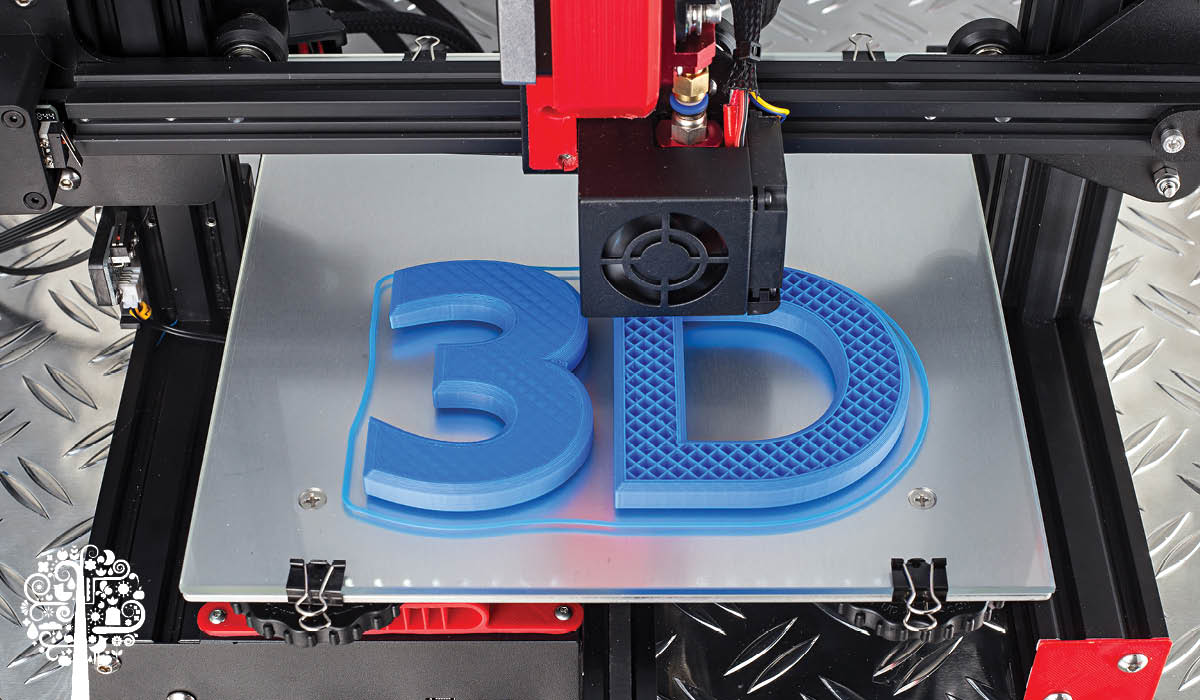
In recent years, there has been a lot of hype around 3D printers, laser cutters, vacuum forming machines, tabletop CNC routers, wire benders, and the like. You can do some amazing stuff with them, for sure, such as spending a lot of time making plastic frogs and other trinkets to put on your shelf. But can we find any use for them around the garden, greenhouse or lab? When it comes to 3D printers (and indeed the others too), we sure can.
Many people have applied 3D printing to various horticultural projects. For example, the 3Dponics project (3dponics.com) offers a complete set of 3D printable designs for constructing hydroponic systems. A researcher at Sony corporation has printed substrates for growing plants with limited success (not all materials are suitable). Filament maker Kai Parthy has invented a patent-pending biodegradable material called GROWLAY designed to support plant growth. A recent article in Grozine by Christopher Hansen covered some applications useful in hydroponics, microgreens, and gardening. One can also find accessories for growing plants on places like thingiverse.com and other model file repositories.
Get Creative!
But the really cool thing about 3D printing is you are not limited to what others have done. You can make stuff of your own to solve problems specific to your needs. Here are a few applications that I have come up with.
The Sprout Experiment
Recently, I did some experiments to test how different conditions affect the germination and development of alfalfa sprouts. Sprouts are often grown in jars or special sprouting chambers, but I needed to run many samples in parallel to get statistical data, and that would have taken quite a few jars, quite a few seeds, and some space.
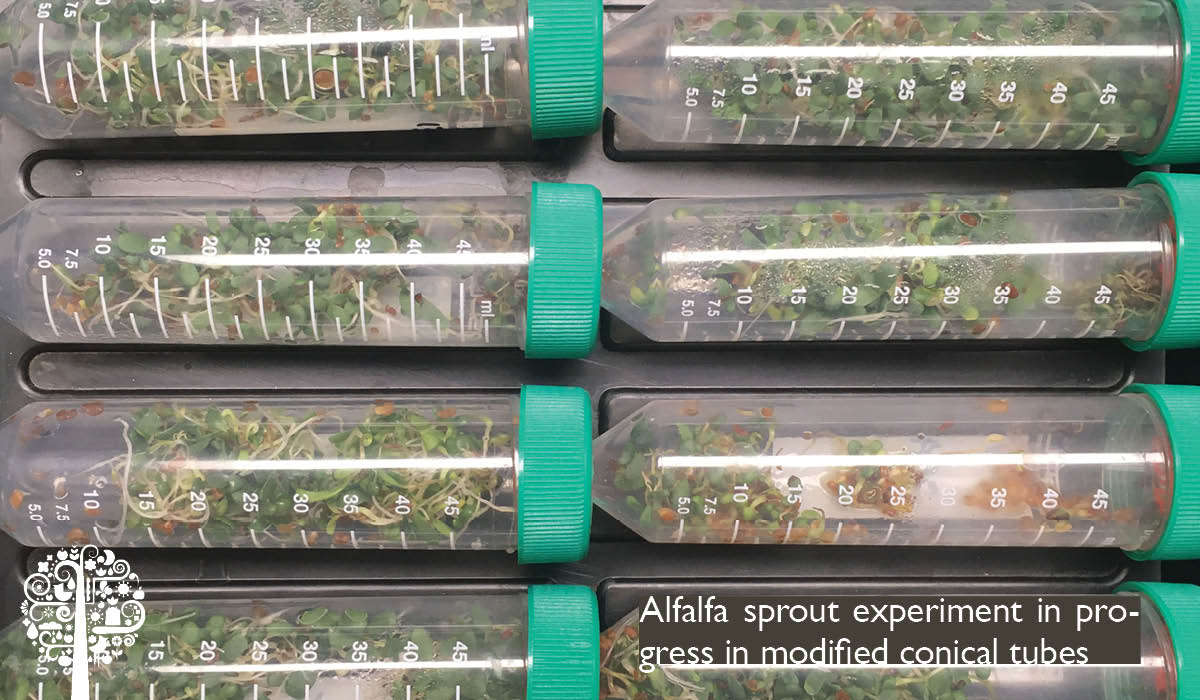
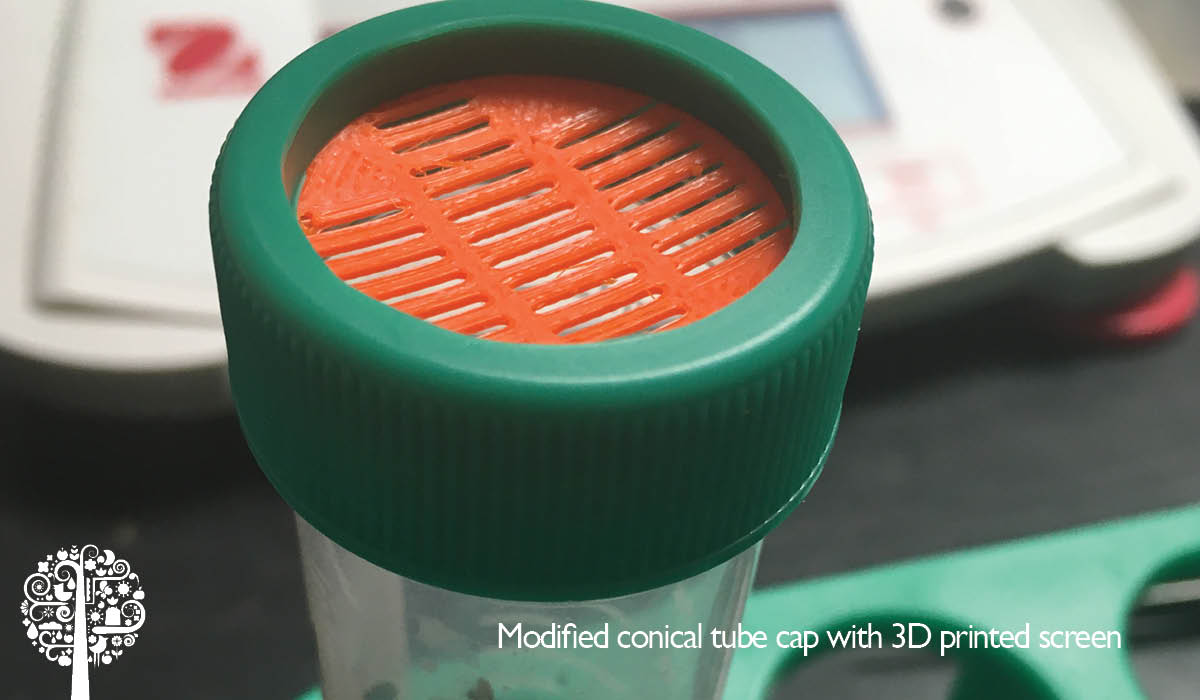
So, I modified 50 mL plastic conical tubes to take 3D printed screens in the caps (Figure 1). Only 500 mg of seeds were used in each tube, and the screen allowed for air circulation and easy rinsing and draining. An experiment using 12 tubes takes up less than 0.09 m2 (< 1 square foot) of space (Figure 2). The entire set of screens took about an hour to design (there’s more than one way to develop a screen), four hours to print, and used maybe a couple of dollars worth of plastic, in this case, polyethylene terephthalate glycol (PETG). I suppose one could buy some window screen material, cut it into circles and use those, but these screens are stiffer, have larger openings for easier draining, are more durable, and it was a lot more fun. Plus, they are orange!
The Next Challenge
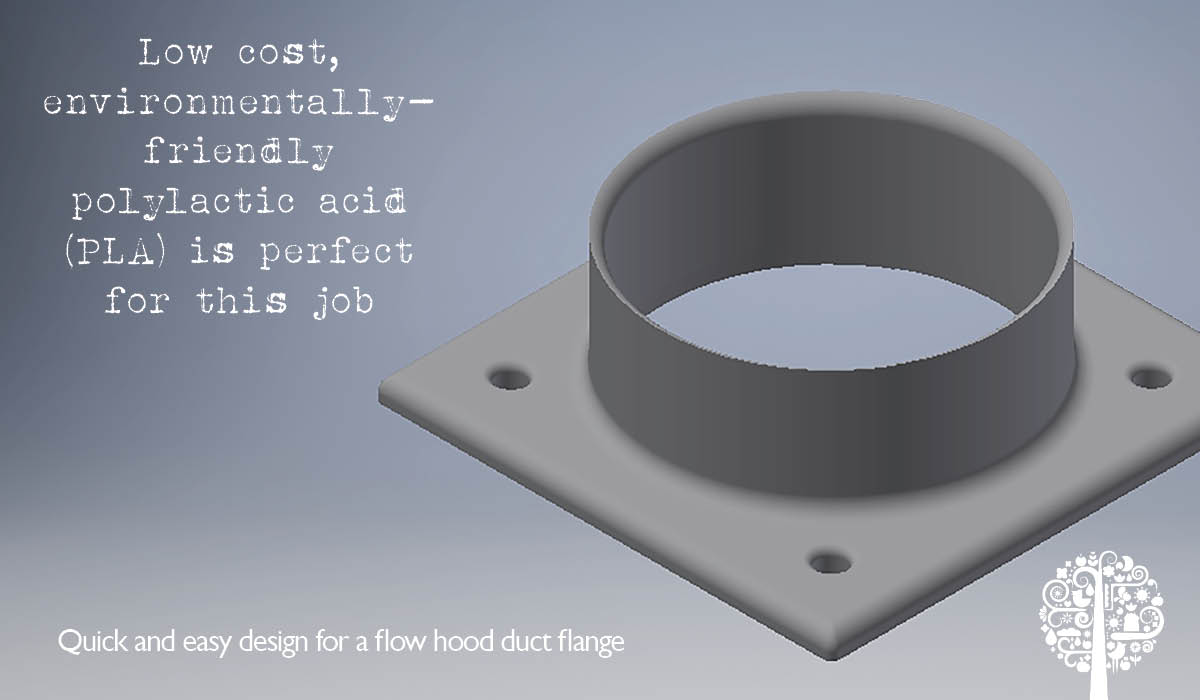
In building a laminar flow hood for microbiology work, I needed a way to attach a blower duct. Sure, you can order one, wait a week, and have it delivered. Or you can design and print one yourself in a day for about a fourth of the cost (Figure 3). Low-cost, environmentally-friendly polylactic acid (PLA) is perfect for this job.
Slip-On Lids
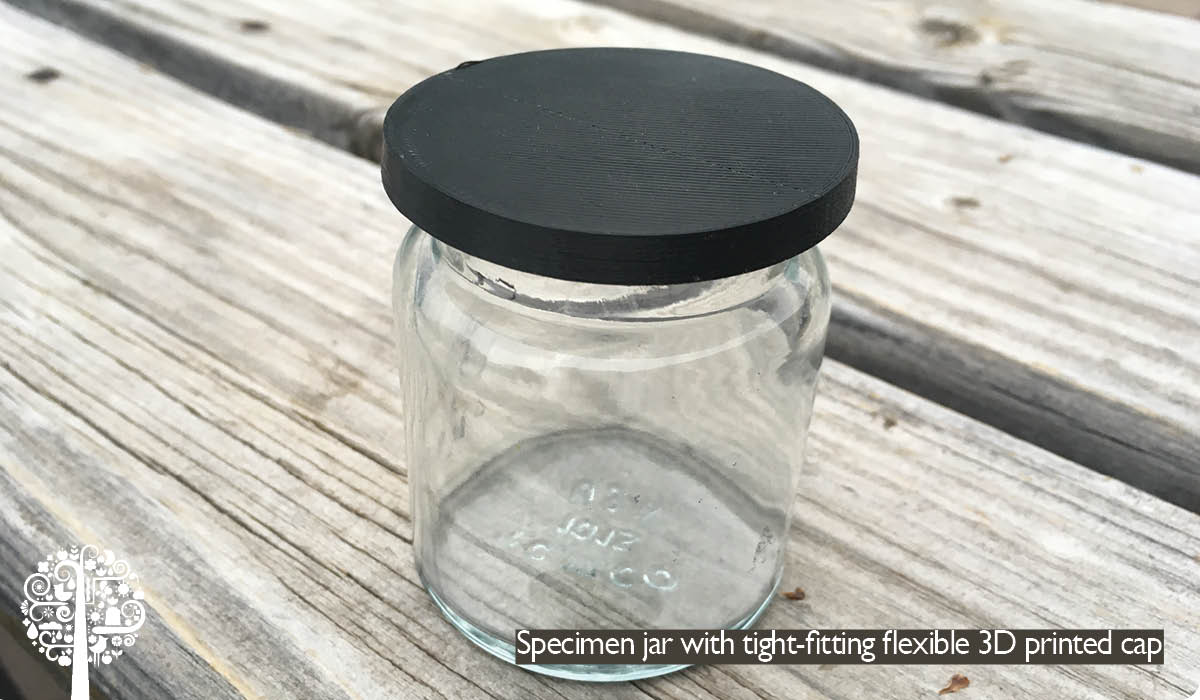
I use some small specimen jars for soaking or disinfecting seeds before germination. The jars are about the size of baby food containers. They do not have screw tops, so I have been using a combination of the few properly-sized rubber stoppers I have on hand and some aluminum foil to cover them to prevent evaporation and contamination. It works! I decided to try a flexible material (NinjaTek Cheetah polyurethane) to make slip-on lids for them. The first version worked pretty well, but with a bit of fine-tuning, they fit snugly, are easy to clean, and will last for years (Figure 4). I think they look rather professional.
Seed-Sorting Sieves
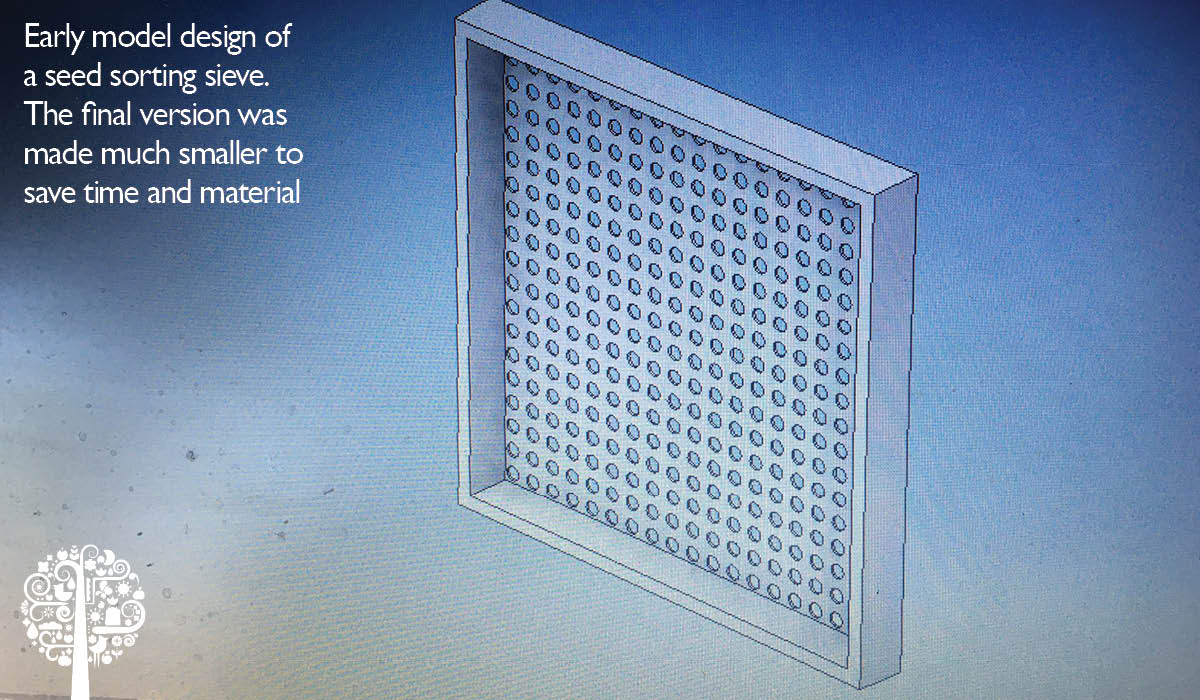
Being curious about how the mass of an X-59 dual-use (fiber and grain) hemp seed affects the probability of it germinating, I made a set of seed sorting sieves with different-sized openings (Figure 5). Tricky because the shape of the hole affects how a seed fits through. I ended up with round holes ranging from 2.5-4 mm. They were prototypes, so they were small to save time and material. It wasn’t entirely successful because it turns out that the size of hemp seed is not necessarily proportional to its mass. I was able to sort them by size, but when checking the masses, they were not well-sorted because the seeds have varying densities. To sort them by mass, it’s going to take some time with a high-resolution scale. Live and learn.
Don’t Be Afraid!
One must negotiate a learning curve when delving into the world of additive manufacturing (the process where one layer of material is added to another to build a structure from the base up). Machines keep getting better and more user-friendly, but you should not be afraid of a bit of tinkering and trial and error before you get things running smoothly. Each time you switch to a different material, some tweaking is usually required. You can have a basic 3D printer for only a few hundred dollars these days. It won’t be the most capable machine in the world, but for the applications described here, high resolution and exotic materials are not required.
3D modeling software is a different story. A complete discussion of all the design software options would require an entire article of its own. You can spend anywhere from zero to many thousands of dollars for 3D modeling software. You get what you pay for, of course. Blender is powerful and free for both Mac and Windows if you can tolerate a steep learning curve.
Autodesk Inventor is a professional program that goes for a couple of thousand dollars a year, but educators and students can get a license for free. Another Autodesk product, Fusion, is a lot less but not free. Several more have come out in recent years in the $200-$300 range. You can sign up for a free Tinkercad account (tinkercad.com) to test the waters.
Oh, and those plastic frogs mentioned earlier? A researcher in Costa Rica uses 3D printed and motorized models painted to mimic poison dart frogs to observe and study frog behavior. You can see them in action in David Attenborough’s “Life in Color” on Netflix. We’ll have to move them out of the knickknack category.
Share on Pinterest:
