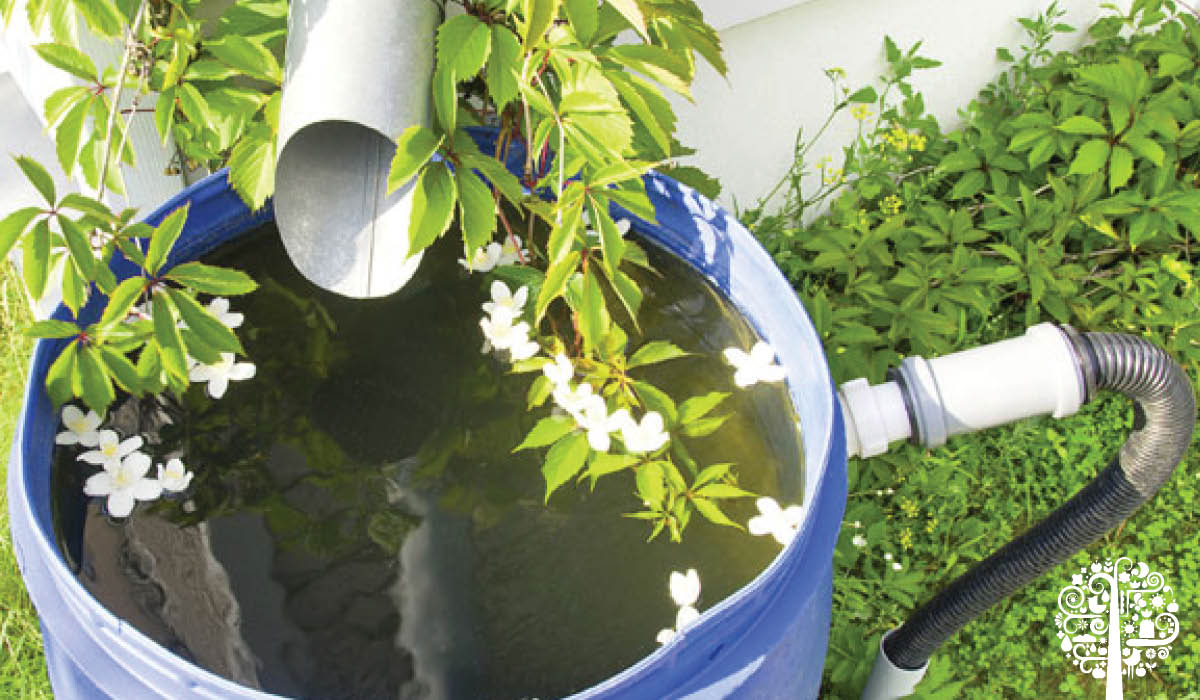
When it comes to gardening, you’ve probably thought about the garden, the soil, and the type of plants you want to grow, but what about the water? Gardening and lawn care use a lot of water, and that can end up being wasteful, which brings us to the awesomeness that is a rainwater harnessing system. It’s free water falling from the sky, and you only have to collect it.
How Much Can You Collect?
In a medium rainfall, a 25×40 foot roof can shed up to 600 gallons of water in one hour. A proper harvesting system can catch up to 80% of all the rainwater that falls on a catchment area. That is more water than most of us are going to catch, but you can get as little or as much of it as the size of your container(s) will allow.
Before You Start
If you plan on harvesting rainwater, you should first check with your local ordinances to make sure you are allowed to do so. Yes, it’s illegal to collect rainwater in certain places, and I don’t want you to break any laws and getting into trouble.

What You Need
When it comes to DIY rainwater harnessing systems, there are dozens of different options. However, the basics are the same for all of them. You need to funnel the rain from your roof. You need a container to capture the rain you are funneling from your roof. You also need to easily get the water you have captured out of the container and to wherever you want to use it.
To get the water down from your roof, you probably don’t need to do much, since I assume you already have rain gutters and a downspout. Most downspouts go all the way to the ground to draw the water away from the house. But for harnessing purposes, we want the spout to lead into our container. So, you might have to remove some sections and even add a simple funnel or tubing to get from the new end of the downspout cleanly into the container.

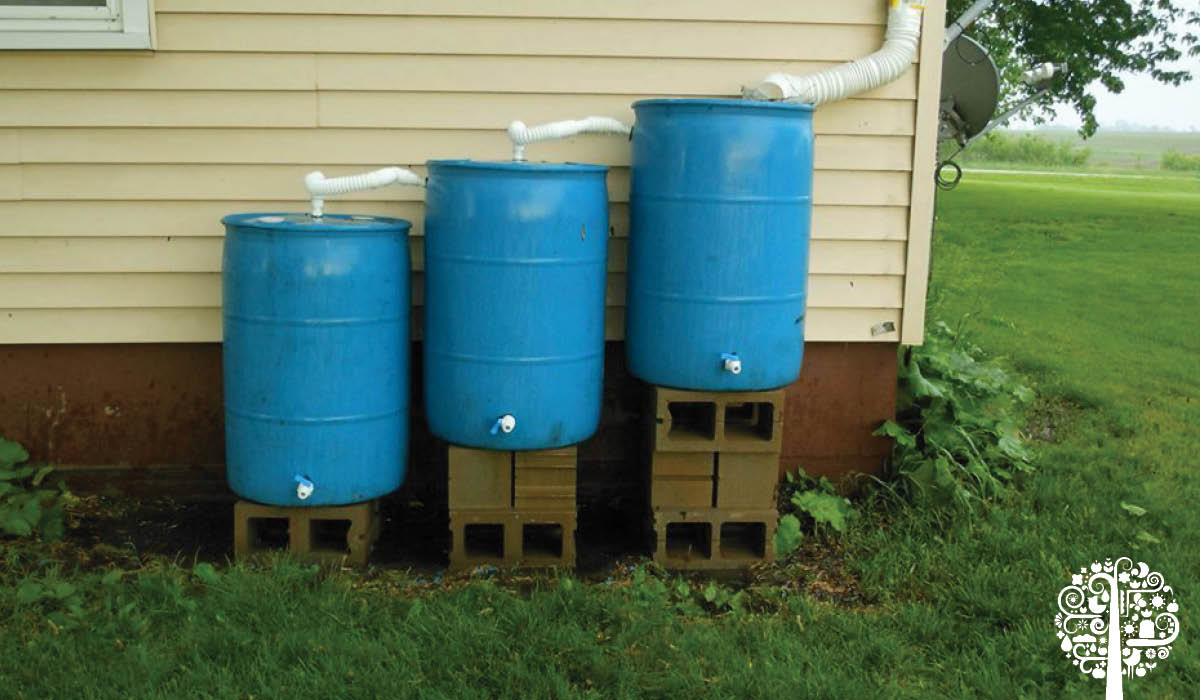
And speaking of the container, this is where options can become overwhelming. From PVC rain barrels to metal water tanks, the possibilities are endless. If you have a big trash can handy, that is as good an option as any. And depending on how much water you want to harness, you can use multiple barrels or trash cans and connect them with some hose or piping so that overflow moves into the next barrel.
Last but not least, you will need a spigot. Install this near the bottom of your can/barrel so you can open and close it to let the water flow out just like the faucet on your kitchen sink. There are some great how-to’s online with very simple-to-follow instructions.
A Few Pro Tips
Install your capture container slightly elevated off the ground (a simple, stable platform of some sort) so that you can get a good-sized watering can, jar, or container under the spigot – making the filling process hassle-free.
Install a simple screen at the top of the downspout to filter out any leaves and debris so that water is the only thing being captured in your container. If the downspout/tube entering the container isn’t a perfect fit, you will want a filter there as well to keep unwanted things out of your captured water (landscaping fabric works great for that).
Some kind of drainage under your collection barrel is essential (pea gravel is a great option), as the system is most likely pretty close to the house and foundation and you don’t want any overflow water going towards said foundation.
And finally, while it’s a cheap option to get a used barrel from a company that uses barrels for storage, make sure they weren’t used for storing oil, pesticides, or other toxic substances. Cleaning the barrel isn’t guaranteed to get rid of the chemicals, so it isn’t worth the risk.
Glad I bumped into your magazine, it’s loaded with great info and delivered by folks that make it easy to read. Nice work and I thank you.
Thank you!