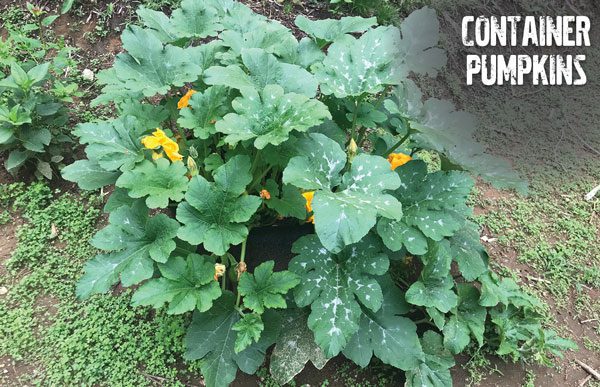
Many gardeners shy away from growing pumpkins because they take up so much real estate. What goes into the ground as a compact seedling quickly turns into sprawling vines with massive leaves. Don’t despair! You, too, can have a thrilling Halloween if you opt to grow pumpkins in containers!
Choose The Right Variety
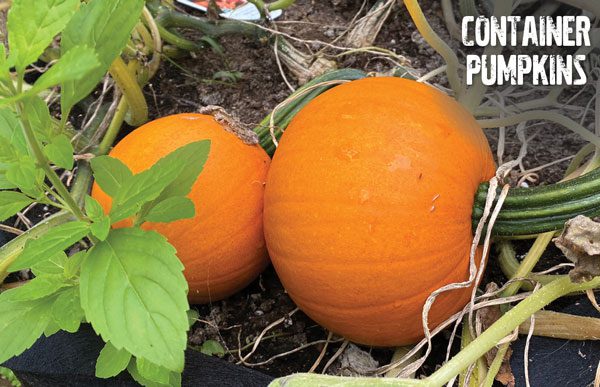
When growing pumpkins in containers, select a small variety. Larger sizes may also work, but they take up a lot more space. I chose organic Cinnamon Girl, a cute ornamental that also bakes well and tastes delicious in pies, bread, and soups. Yum!

Other small pumpkin varieties include but are not limited to:
- BabyBear
- Baby Boo
- Baby Pam
- Munchkin
- Jack Be Little
- Hooligan
- Spooktacular
Choose The Right Pot
The size of the container you use for growing pumpkins is paramount. I chose a 25-gallon fabric pot, a total beast, but the nice part is it folds up nice and flat for storage!

You can go a tad smaller, but not by much. A 20-gallon pot should be the smallest size you use. Bigger is better.
Whatever size you go with, be sure the pot has plenty of drainage holes. Pumpkins despise soggy soil!
Choose The Right Earth
Fill your container with a good-quality, nutrient-rich soil. I filled my 25-gallon pot about two-thirds of the way with bagged soil and then filled the last third with worm castings and shrimp compost.

Before planting, you can also work in a high-nitrogen fertilizer. This way, you can give your pumpkins the best start possible.
Planting Pumpkins
I had well-established pumpkin seedlings that I started indoors in the early spring. I grew one per pot.

You can also choose to start from seed if your growing season is long enough. Plant three or four seeds in little hills. Once they take, thin the seedlings, so only the healthiest plant remains.
Feed And Fertilize
Pumpkin plants are greedy; they’re one of the hungriest crops out there! Growing in pots is tricky because they leech out moisture and nutrients quickly, so be sure to stay on top of this step.
At the beginning of your pumpkin plant’s life, fertilizers high in nitrogen will help develop its vines and green foliage. These are important to keep the fruit protected. But once the pumpkin vines get going, lay off the nitrogen.
I worked a slow-release, organic fertilizer into the soil every three weeks throughout the growing season. The brand Acti-Sol Tomatoes and Vegetables (4-6-8) worked very well for me.

Whatever you choose, be sure it has a decent amount of phosphorus for the blossoms. The potassium content is especially important for the fruit once it forms.
Pumpkins are also very thirsty, so be sure to give the pot a thorough soaking every day in hot weather. Using a moisture meter will help you know when to skip watering and hold off until the next day.
Some people choose to lift the pumpkins off the ground or support them as they spill over the side of the pot (pantyhose can be used). I just let the gourds spill over the sides and they were fine!
Follow these steps, and you’ll have beautiful ornamental pumpkins and tasty treats throughout autumn!
Love your can-do approach! I’m wondering if you let the vines and fruit sprawl over bare grass or dirt, or if you used straw or plastic mulch beneath?
I’m so happy you found the article helpful! I let my pumpkins sprawl over the ground and they were perfectly fine, however, I think having a bed of mulch or geotextile underneath is a great idea 🙂 You can also support the growing pumpkins (or any fruit) with old nylons to keep them up off the ground. Thanks for reading!
How often should you fertilizer? For some reason I’m going with every other week.
That was a very helpful article thank you very much and happy pumpkin growing to all of us