Similar to other internet niches, gardeners have come to know the frustration of translating theory into practice. You see a seemingly simple DIY lettuce tower, and it turns into BATS (buy at the store). Aside from learning by doing year after year, one of the easiest things to grow is microgreens! And anyone can do it, farmer and apartment grower alike.
Growing Microgreens IRL
The reality of growing online versus growing in real life includes sourcing expensive materials and inputs, space and time constraints, and the demoralization of dead and dying plants (don’t worry, it’s universal). So, just for a moment, let’s pause all of that, zoom out, then zoom in on our source. Plants, of course, grow from seed, but before reaching maturity, seeds sprout into microgreens.
Sprouts are a concentrated source of the plants’ nutrients and energy. The example that’s gotten a lot of press in recent years, especially from scientists and health educator Dr. Rhonda Patrick, is broccoli sprouts. Their antioxidant sulforaphane content is highly concentrated and far exceeds that of a mature broccoli crown that’s traveled around the globe in terms of cleanliness and nutritional density.
You can easily sprout broccoli seeds in a jar on your windowsill, though they’re not rooted in soil. So, to take the process a step further, you can grow microgreens on a larger (though still quite modest) setup in your home, using a 2×4’ footprint and four or five racks.
Growing tasty vegetables for yourself requires little effort and yields high nutrient value. Even those who claim not to have the time might discover that they do! And many feel better overall by producing their own food, even on a small scale.
Galiano Grow House Microgreens
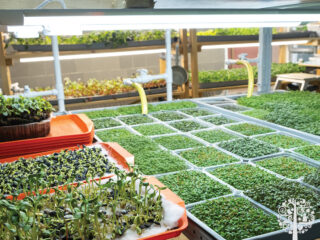
GCM writer and facility design expert Adam Clarke, over on Galiano Island, BC, has produced microgreens commercially and for personal use at the farm. His method includes five layers with 40 watts of lighting per layer.
For the first week, seeds are planted and weighted down to increase pressure, allowing them to take root rather than spindling upward. This occurs in a dark cycle. The full cycle lasts 10-21 days and is grown in coco coir substrate. Other mediums can be used, such as soil, peat, or hemp mats.
Post-harvest, Clarke uses a freeze-dryer to preserve the microgreens, ensuring greater nutrient retention than dehydration or other similar methods. And of course, they’re eaten fresh as a delicious side or garnish to most savory meals.
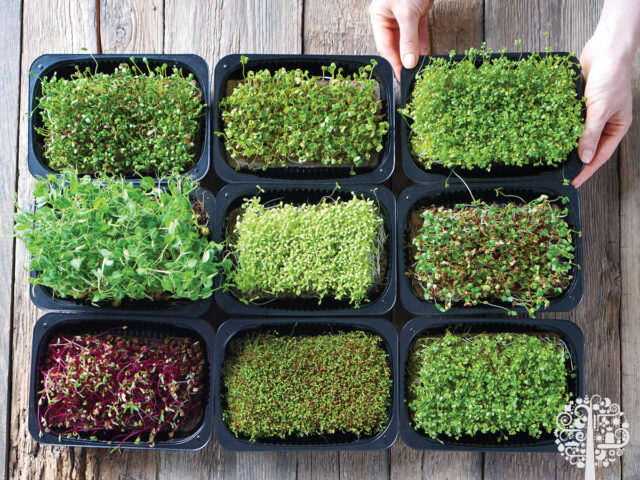
Common microgreens include broccoli, sunflower, pea shoots, radish, mustard, kale, arugula, and red cabbage. Each offers a slightly different flavor profile and nutrient composition, ranging from peppery and spicy to mild and nutty. It’s often best to start with sunflower or pea shoots because they germinate quickly and are quite forgiving for beginners.

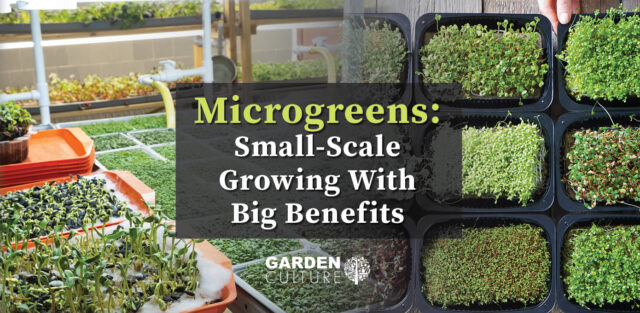
Microgreens: Relishing Accessibility
Aside from their delicious taste, what makes growing microgreens especially appealing is the accessibility. Sure, you can buy a plastic clamshell of fresh microgreens at the farmers’ market for $5-10, but you could also spend that money on seeds and plastic trays and grow your own. They don’t require acreage, expensive equipment, or years of experience. A small shelf, basic lighting, clean water, and quality seeds are really all you need to get started.
Urban dwellers and folks in cold climates can capitalize on this practical system to maintain a connection to food production year-round. There’s also something to be said about watching food grow from seed to harvest in 2-3 weeks. It’s a grounding, tangible, and natural system in your basement or living room. It also serves as a reminder that food doesn’t have to originate from a commercial grocery store aisle.
The romanticized homesteading dream, while dreamy as it is, doesn’t have to hinge on the ability to build the perfect greenhouse or food forest. Sometimes, the most practical step in the pursuit of a better, healthier life starts with an old seed tray and just a handful of beans.