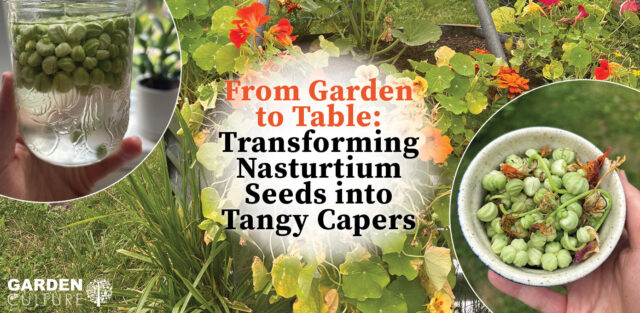
Capers…a Backyard Alternative!
The family and I have fully bought into the Mediterranean diet for many reasons, but mostly because it’s damn delicious and we eat super well! In my supersized collection of Mediterranean cookbooks (I might have a problem), I’ve noticed that many recipes call for capers as a final garnish and seasoning for meals hailing from Italy, Greece, Spain, and North Africa. Without realizing it, many of us have capers (or at least a great substitute) growing in our gardens! That’s right; the hard-working nasturtium produces tons of edible seeds that you can preserve and transform into something similar to capers. Here’s how to do it, so you can eat well and save some coin at the grocery store. Every little bit counts!
What are Capers?
Capers are pickled flower buds of the Capparis spinosa bush, also known as the Flinders rose, which grows naturally across the Mediterranean. Capers are low-calorie, tangy and salty, adding a punch as a garnish to many meals, including seafood and fish, pasta sauces and various vegetable dishes. You can buy them in the pickle section of your local grocery store, but why do that when you can easily make faux capers at home?
Although not the same as the aforementioned ‘caper bush’, nasturtium seeds are an excellent substitute, often referred to as ‘poor man’s capers.’ I don’t know about the ‘poor’ part, but I do think it’s smart.
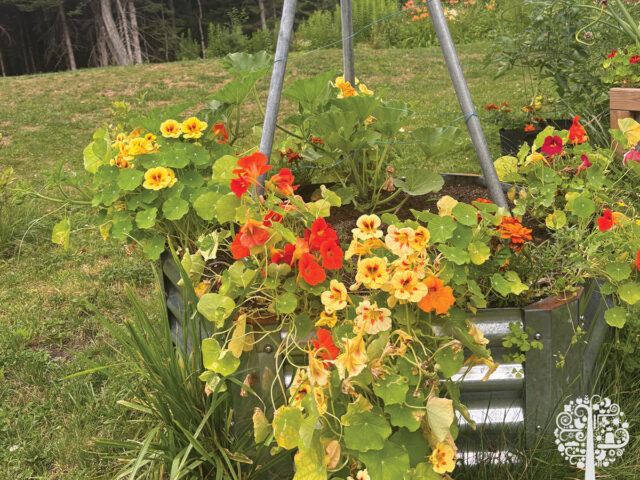
The Not-So-Humble Nasturtium
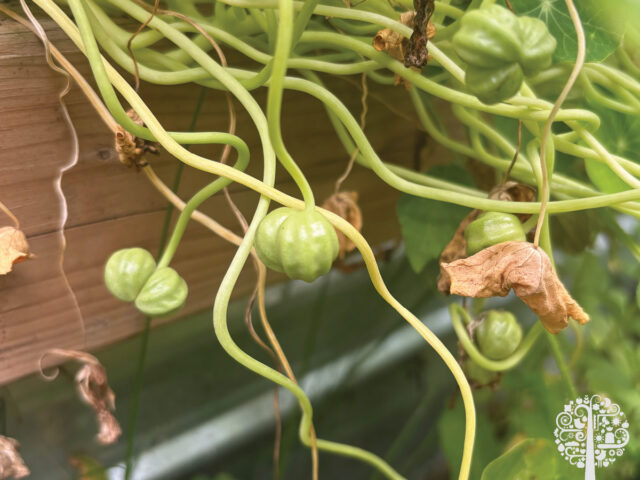
Nasturtiums begin producing seeds by mid-summer as the flowers finish blooming. You’ll notice small, green seed pods hanging from the plant’s tendrils. I always collect them throughout August and September, usually saving them for planting the following season. This summer, I had nasturtiums galore in the garden (thanks to an abundance of viable seeds from last year’s garden), and you can never really have too many nasturtiums, can you?
I don’t know if you know this, but nasturtiums are kind of a big deal. These beauties have edible flowers and leaves, attract and feed important pollinators, and act as trap crops for a wide variety of common garden pests. Aphids, cabbage white butterflies, and squash bugs will go to nasturtiums over your tomatoes, cucumbers, and cabbages. See what I mean about them being a big deal?
Back to the nasturtium seeds, if you harvest them while they’re young, you can pickle them in a vinegar brine and enjoy them on your dinner plate! They come out spicy and tangy, perfectly imitating Mediterranean capers. Making homemade ‘faux capers’ with nasturtium seeds is easy!
EDITOR’S NOTE: We recommend ensuring your seeds are collected from organic plants. As with all foraging and preserving, research and make sure you are using clean tools and following proper techniques before consuming.
How To Turn Nasturtium Seeds into ‘Capers’
Step 1: Harvest and Wash
Gather the young pods while they’re still light green and tender. Remove all plant debris, wash them well, and separate.
Step 2: Brining Nasturtium Seeds
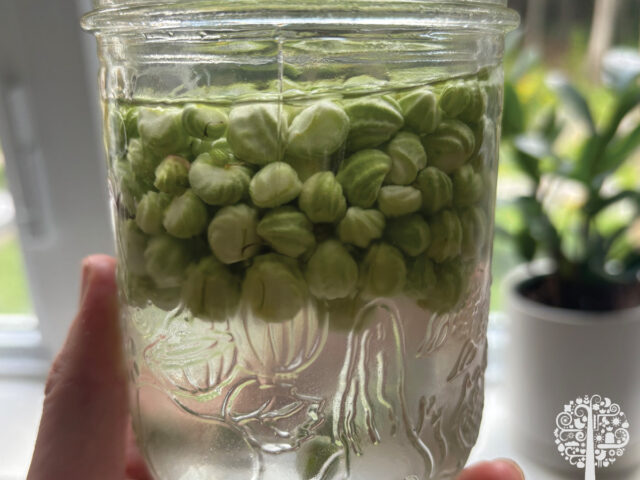
The brining process is essential for removing the seeds’ bitter taste. Dissolve about ¼ cup of salt into two cups of room-temperature water. Pour into a clean glass jar with the nasturtium seeds, making sure they are submerged in the brine. If you need to weigh the seeds down, use a weight or a small bag filled with some water. The jar can sit on your kitchen counter for up to 3 days; you’ll notice the seeds fading from light green to an olive-green color.
Step 3: Pickling Nasturtium Seeds
After a few days, it’s time to pickle your pretend capers! Drain the seeds in a strainer and rinse them well under cold water to remove excess salt. Pack them into a sterilized jar and add a bay leaf, some peppercorns, and any other herbs and spices you like. You can find a variety of recipes online. In a saucepan, combine vinegar and sugar (the amount depends on the recipe you’re following and how many nasturtium seeds you have). Bring the contents to a low boil for about a minute or until the sugar dissolves. Pour the hot mixture over the seeds in your clean jar, ensuring they’re covered.
Storing Your Capers
After the jar cools to room temperature, secure the lid tightly and place in the fridge. The ‘capers’ will be good to eat in a few days, but they’ll be more tangy and add more flavor to your meals if you let them sit for 2 or 3 weeks. They will keep well in the fridge for 6 months.